
You can also see the area rug added to the room in the above picture. We bought that at IKEA when we bought the dresser last November and it wasn't intended for the nursery at the time, but it's working out pretty well so far so I think it will stay. Once we know gender, maybe a more colorful rug will strike my eye, but for now this one (somewhat) disguises the fact that we painted gray in a room with tan carpeting.
Since both of those mentions are again in the gray category, here is some color to spruce things up. I got crafty with DIY again and whipped up a "no sew crib skirt" on Sunday while it was blizzarding.

It was a little time-consuming but wasn't too bad to put together ... and with the snow coming down outside I was on house arrest anyway, so it was a good project to keep me occupied.
I once again thank the Internet for providing a nice little tutorial to guide the way. But even though I used "Heat n Bond" hem tape for the hems, thus eliminating a good portion of sewing, the "no sew" claim turned out to be false since I still had to sew together the front panel in order to get the chevron/zigzag pattern to fit and run horizontally. And I attached it all to the crib mattress frame with Velcro which I had to sew onto the fabric.
Regardless, it still wasn't bad. I think the hem tape stuff is my new BFF because it really is easy to use and keeps the edge feeling a little more sturdy (and straight)!
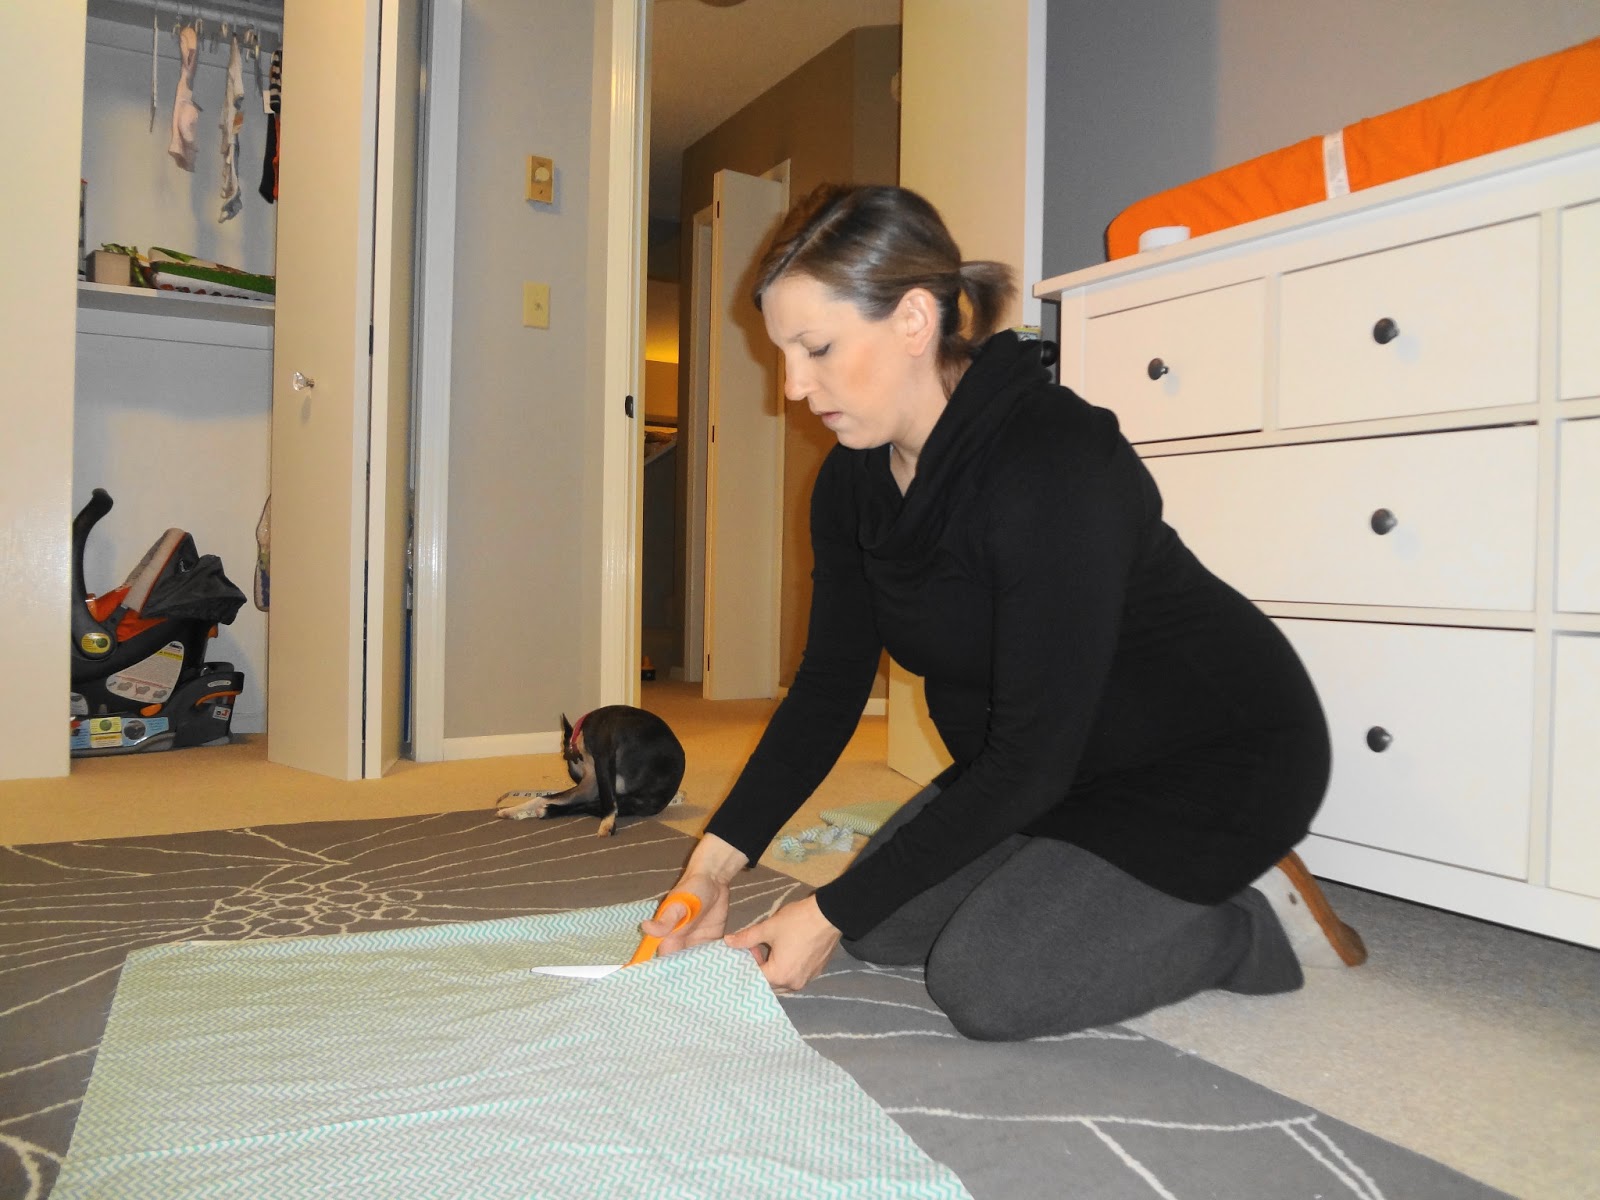
To walk through the DIY process, here's some cutting action to get this started.
And some ironing excitement.

And here's some smiling while ironing action ... (clearly we were in the process of cleaning out some boxes from baby items).

Here's the sewing on of the Velcro.

Since Aaron was home I took advantage of getting more smiling/action shots. Plus I needed proof that I actually used my sewing machine!

Fastening the finished product to the crib challenged my ability to fit wrists and arms through the crib slats, but I eventually got the hang of it.

So here is the room looking a little more fun for Baby.


There is still plenty to do in this room, but these baby steps make it feel like it's coming together!
No comments:
Post a Comment